

When it comes to FlutterFlow app development, this platform offers a suite of features designed to streamline the development process. From its intuitive drag-and-drop interface to its robust data handling capabilities, FlutterFlow provides a comprehensive solution for creating high-quality, fully functional apps.
This blog post is aimed at both beginner and intermediate users interested in leveraging FlutterFlow for app development. We’ll provide a step-by-step guide to creating your first app with FlutterFlow, offering practical tips and insights to help you navigate the platform effectively. By the end of this guide, you’ll have a clear understanding of the FlutterFlow app development process and be well on your way to creating your own successful apps.
If you don’t already have a FlutterFlow account, you can sign up for one here.
Understanding FlutterFlow
FlutterFlow is a revolutionary, no-code app development platform that leverages Flutter, Google’s UI toolkit, to create high-quality, cross-platform applications. It harnesses the power of Flutter’s codebase while providing an intuitive visual interface, thereby lowering the entry barrier for beginners and simplifying the process for seasoned developers.
In the landscape of app development platforms, FlutterFlow stands out due to its unique blend of simplicity and sophistication. While most platforms either cater to beginners with limited features or offer complex tools for experienced developers, FlutterFlow strikes a balance. It provides an easy-to-use, drag-and-drop interface while maintaining the power and versatility of a full-fledged coding platform. This makes FlutterFlow app development an approachable and efficient process for users of all skill levels.
The key features and benefits of FlutterFlow are numerous. Firstly, its no-code, visual interface eliminates the need for extensive coding knowledge, enabling a wider range of creators to develop apps. Secondly, FlutterFlow supports cross-platform development, meaning the apps you build will work seamlessly across iOS, Android, and the web. Thirdly, it provides robust data management tools, allowing you to integrate and manage databases effectively within your app. Lastly, FlutterFlow offers a live preview feature, so you can test your app in real-time and ensure it functions as intended before deployment. Together, these features make FlutterFlow app development a powerful, accessible, and efficient choice for building your next app.
Setting Up Your FlutterFlow Environment
Before you can dive into the world of FlutterFlow app development, you’ll need to set up your FlutterFlow environment. Here’s how:
- Visit the FlutterFlow website and click on the ‘Sign Up’ button to create your free FlutterFlow account.
- Fill in the required details, including your name, email address, and password.
- Confirm your email address by clicking on the verification link sent to your email.
- After confirming your email, log in to your FlutterFlow account.
Once you’re logged in, you’ll be greeted by the FlutterFlow interface. This dashboard is where you’ll create and manage your projects. On the left-hand side once you select a project, you’ll find the project navigator where you can switch between different sections of your app like pages, databases, and settings. The main workspace, located in the center, is where you’ll design your app’s interface and functionality. The right-hand side is reserved for properties and actions related to the selected element in the main workspace.
Navigating the FlutterFlow workspace effectively is crucial for efficient app development. Here are a few tips:
- Familiarize yourself with the interface: Spend some time exploring the different sections and tools available in the workspace. This familiarity will speed up your workflow as you start building your app.
- Use the project navigator: The project navigator is a great tool for quickly switching between different parts of your app. Keep it in mind when you need to make changes to multiple sections simultaneously. (On mac it’s ⌘ Cmd + K, on windows it’s Ctrl + K)
- Leverage the properties and actions panel: This panel provides a variety of customization options for each element in your app. Use it to refine the appearance and functionality of your app components.

Planning Your App
When it comes to FlutterFlow app development, thorough planning is a critical first step. A well-planned app not only meets its objectives more effectively but also provides a smoother and more intuitive user experience. It helps avoid potential roadblocks and ensures that all the necessary features and functions are incorporated from the onset.
To plan your app effectively, start by understanding your target audience. Who are they, what are their needs, and how can your app meet these needs? This understanding will guide the design and functionality of your app.
Next, define your app’s core functionalities. What are the key actions users should be able to perform? What features will facilitate these actions? Be as specific as possible.
Also, consider the design and user interface. What will your app look like, and how will users navigate through it? A clean, intuitive design can greatly enhance user satisfaction. Pro tip: Use Midjourney to generate UI examples to come up with ideas.


Finally, plan your app’s data requirements. What kind of data will your app need to handle? How will this data be stored and accessed?
Once you’ve developed a solid plan, it’s time to translate these plans into FlutterFlow. Create a new project and begin to outline your app using the drag-and-drop interface. Use the pages and components in FlutterFlow to build your app’s structure based on your design and functionality plans.
Creating Your First FlutterFlow App
Now that you’ve set up your FlutterFlow environment and planned your app, it’s time to start building. Here’s a step-by-step guide to creating your first app using FlutterFlow:
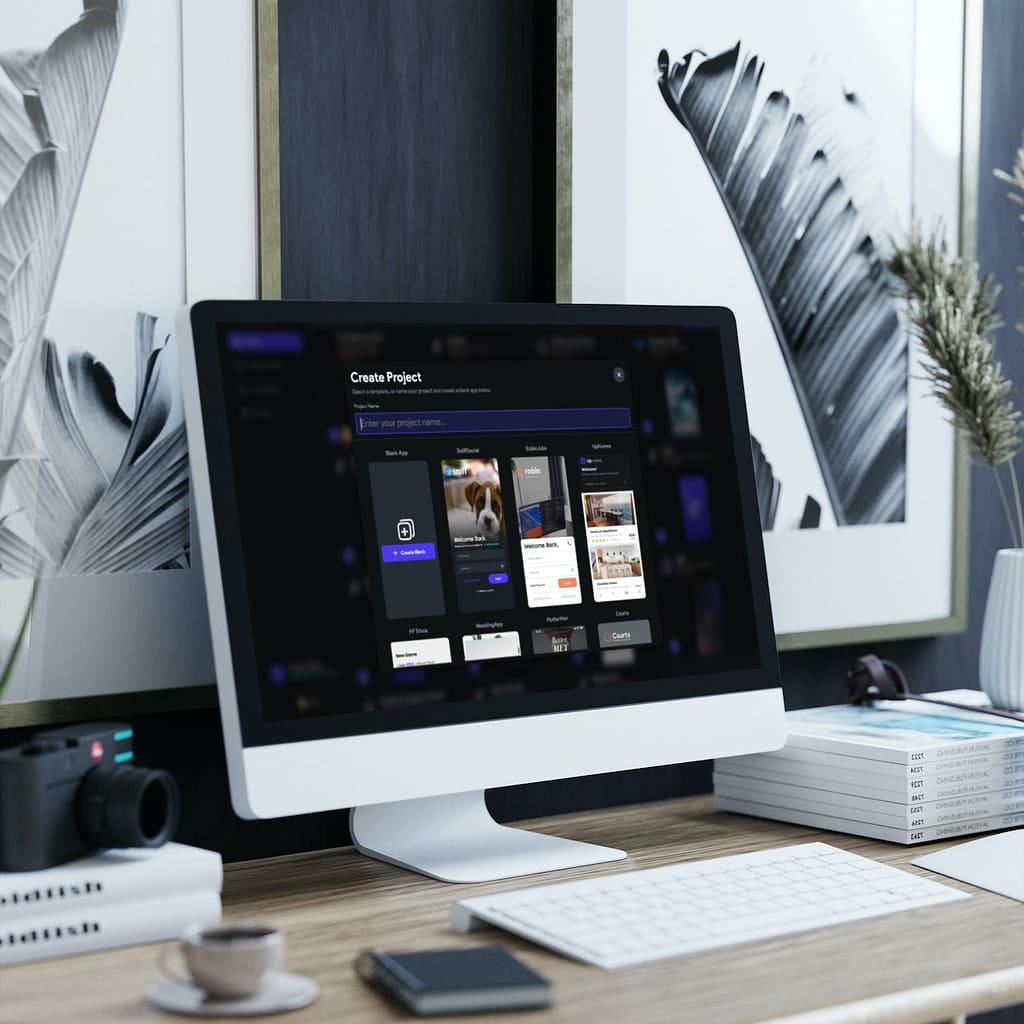
- Creating a New Project
- On your FlutterFlow dashboard, click on the ‘New Project’ button.
- Enter a name for your project and select ‘Create’.
- You’ll be redirected to the workspace of your new project.
- Defining App Elements and Functionalities
- Start by adding pages to your app. Click on the ‘+’ icon next to ‘Pages’ in the project navigator.
- For each page, add the necessary components like buttons, text boxes, images, etc., by selecting them from the components section and dragging them onto the page.
- Define the functionality of each component by selecting it and configuring its properties and actions in the right-hand panel.
- Utilizing FlutterFlow’s Drag-and-Drop Interface
- With FlutterFlow’s drag-and-drop interface, you can simply drag components onto your pages and arrange them as desired.
- Use the alignment and layout tools in the properties panel to refine the placement and appearance of your components.
As you embark on your FlutterFlow app development journey, here are some tips and best practices to keep in mind:
- Start simple: Especially for your first app, focus on getting the core functionalities right before adding complex features.
- Consistent design: Maintain a consistent design across all pages of your app. This includes consistent color schemes, fonts, button styles, etc.
- Iterative development: Test your app frequently during the development process. Make changes and improvements based on the feedback from these tests.
- Utilize resources: Make use of FlutterFlow’s extensive documentation and tutorial videos to help you navigate any challenges you encounter.
Remember, building an app is a creative process, so feel free to experiment and iterate. With patience and practice, you’ll become proficient at FlutterFlow app development in no time.
Working with Data in FlutterFlow
Data handling is a key aspect of FlutterFlow app development, and the platform provides comprehensive tools for managing your app’s data needs.
In FlutterFlow, you can create and manage your app’s databases directly within the platform. This allows you to define data structures, set up relationships, and perform CRUD (Create, Read, Update, Delete) operations – all without writing a single line of code.
Here’s how you can integrate databases with your app:
- Creating a Database
- In your FlutterFlow workspace, click on ‘Databases’ in the project navigator.
- Click on the ‘+’ button to create a new database. You’ll be prompted to name your database and define its structure.
- Add fields to your database by clicking the ‘Add Field’ button. You’ll need to specify the field name and type.
- Integrating the Database with Your App
- Once your database is set up, you can start integrating it with your app.
- In the properties panel for any component, you’ll find options for binding data from your database.
- Simply select the appropriate database and field, and the component will be linked to that data.
CRUD operations in FlutterFlow are performed through actions that can be attached to various components in your app. For example:
- Create: You can create data by setting up a form in your app and adding a ‘Submit Form’ action that creates a new entry in your database.
- Read: Data can be read by binding it to a component in your app. For instance, you can display a list of entries from your database using a ‘List’ component.
- Update: To update data, you can set up a form that populates with existing data and add a ‘Submit Form’ action that updates the relevant database entry.
- Delete: Data deletion can be achieved by adding a ‘Delete’ action to a button or other interactive component in your app.
By leveraging these data handling capabilities, you can create dynamic, data-driven apps with FlutterFlow.
Previewing and Testing Your App
In the world of FlutterFlow app development, previewing and testing are critical steps that ensure your app functions as intended and provides a seamless user experience.
Testing your app allows you to uncover and address any issues or bugs before deployment. It gives you an opportunity to assess your app from a user’s perspective and make necessary adjustments. This not only improves your app’s quality but also reduces the risk of negative user reviews due to unforeseen bugs or functionality issues.
FlutterFlow provides an in-built preview feature that allows you to test your app right within the development environment. Here’s how to use it:
- Click on the ‘Preview’ button located at the top of your workspace. This will open a new tab with a live preview of your app.
- Interact with your app as a user would. Test all the functionalities, navigate through different pages, and fill out any forms or fields.
- Pay close attention to the flow and intuitiveness of your app. Make sure all components and functionalities work as expected.
While testing your app, you might encounter common issues such as components not appearing as expected, functionalities not working, or data not being properly read or written. Most of these issues can be addressed by going back to your workspace and checking the properties and actions of the relevant components. Make sure everything is configured correctly and that there are no conflicts.
Remember, the goal of testing is not just to fix existing issues, but also to improve your app based on the insights you gain. Testing is a continuous process in FlutterFlow app development, and it’s always a good idea to test your app after making any significant changes. By doing so, you’ll ensure that your app is always in the best possible shape for your users.
Deploying and Publishing Your App

Once your app is developed and thoroughly tested, it’s time for the exciting step of deploying and publishing it. FlutterFlow offers various options for deployment, and it also simplifies the process of publishing your app on different platforms like Google Play and the App Store.
Deploying Your App
In FlutterFlow, deploying your app involves generating the app’s code and building the app files for your desired platforms. Here’s how you can do it:
- In your FlutterFlow workspace, click on the ‘Launch’ button at the top of your screen.
- Select the platforms you want to build your app for (iOS, Android, Web).
- Click on ‘Start Build’. FlutterFlow will start generating your app’s code and building the app files.
- Once the build process is complete, you’ll receive a notification, and the app files will be available for download.
Publishing Your App
After deploying your app, the next step is to publish it on the platforms of your choice. Here are the general steps for publishing your app on Google Play and the App Store:
- Google Play:
- Create a developer account on Google Play Console.
- Prepare your app for release by adding a title, description, category, etc.
- Follow the steps in the Google Play FlutterFlow documentation and the Google Play Console to publish your app.
- App Store:
- Enroll in the Apple Developer Program.
- Prepare your app for submission by adding details like the app’s name, description, category, etc., in App Store Connect.
- Follow the steps in the Apple App Store FlutterFlow documentation and the App Store Connect to submit your app for review.
FlutterFlow has already outlined the process really well in their mobile deployment help documentation. Just remember, both Google Play and the App Store have specific guidelines and requirements for app submissions, so make sure to familiarize yourself with these before submitting your app.
With your app now deployed and published, your FlutterFlow app development journey comes to a successful conclusion. Congratulations! You’ve just created and released your own app using FlutterFlow.
A Step-by-Step Guide to Successful FlutterFlow App Development Conclusion
In this comprehensive guide, we’ve explored the ins and outs of FlutterFlow app development, from setting up your FlutterFlow environment and planning your app to deploying and publishing it on various platforms.
Throughout this journey, the power and versatility of FlutterFlow have been evident. Its no-code, visual interface, cross-platform capabilities, robust data management tools, and live preview feature make it a formidable tool in the app development landscape. Whether you’re a beginner stepping into the world of app development or an experienced developer looking to streamline your workflow, FlutterFlow offers an approachable, efficient, and powerful solution.
As you embark on your FlutterFlow app development journey, remember that learning and mastery take time and patience. Don’t be afraid to experiment, make mistakes, and learn from them. FlutterFlow’s extensive resources, including its documentation and tutorial videos, are always there to support you.
However, if you find yourself needing professional assistance or guidance, we at Flawless App Design are here to help. We specialize in creating seamless, engaging, and successful apps using FlutterFlow. Our expert team can help you navigate any challenges you encounter and ensure your app idea turns into a flawless reality.
So why wait? Let’s bring your app ideas to life with FlutterFlow. Reach out to us at Flawless App Design for any help you need on your app development journey. The world of app development awaits you!


0 Comments